Proper installation plays a key role in ensuring the performance and durability of graphite rotors. Incorrect methods can lead to inefficiency and costly breakdowns. You must follow specific steps to achieve optimal results. These include preparing the system, cleaning components, aligning the rotor, securing it properly, and performing thorough testing.
키 테이크아웃
- Check the compressor system for dirt and damage before installing. This helps avoid problems later and keeps it working well.
- Clean the rotor housing and nearby parts carefully. Keeping it clean is important for the graphite rotors to work properly.
- Use the manufacturer’s instructions to align and secure the rotor. This helps it run smoothly and last longer.
Step 1: Preparation
Inspect the Compressor System for Debris or Damage
Before installing graphite rotors, you should carefully inspect the compressor system. Look for any debris, dirt, or physical damage in the rotor housing and surrounding components. Even small particles can interfere with the performance of the rotors. Use a flashlight to check hard-to-see areas and ensure the system is free of obstructions.
팁: If you notice any damage, repair it before proceeding with the installation. This step prevents future complications.
Gather Necessary Tools and Materials for Installation
Having the right tools and materials on hand makes the installation process smoother. Gather items such as wrenches, screwdrivers, and a torque wrench. You may also need cleaning supplies, lubricants, and the manufacturer’s installation guide. Organize these tools in a way that allows easy access during the process.
- Checklist of essential tools:
- Torque wrench
- Screwdrivers
- Cleaning cloths
- Lubricants
Being prepared saves time and reduces the risk of errors.
Verify the Correct Orientation of the Graphite Rotors
Graphite rotors must be installed in the correct orientation to function properly. Check the manufacturer’s guidelines to determine the proper positioning. Incorrect orientation can lead to airflow issues and reduced efficiency. Hold the rotor in place and confirm that it aligns with the system’s airflow direction.
참고 : Double-check the orientation before moving to the next step. This ensures optimal performance and prevents unnecessary adjustments later.
Step 2: Cleaning the System
Clean the Rotor Housing Thoroughly
· clean rotor housing is essential for the proper functioning of graphite rotors. Dust, dirt, and residue can accumulate inside the housing over time. Use a clean, lint-free cloth to wipe down the interior surfaces. For stubborn grime, apply a non-abrasive cleaning solution recommended by the manufacturer. Avoid using harsh chemicals, as they may damage the housing material.
팁: Pay extra attention to corners and hard-to-reach areas. Even small amounts of debris can affect the rotor’s performance.
Remove Contaminants from Surrounding Components
Contaminants on surrounding components can easily transfer to the rotor housing. Inspect nearby parts, such as seals, bearings, and air filters, for dirt or residue. Clean these components using appropriate tools and materials. Replace any worn or heavily contaminated parts to maintain a clean environment for the graphite rotors.
- Checklist for cleaning surrounding components:
- Inspect seals for cracks or buildup.
- Clean air filters or replace them if necessary.
- Wipe down bearings and other moving parts.
Keeping the entire system clean ensures optimal performance and reduces the risk of contamination.
Check and Maintain Proper Lubrication Levels
Lubrication plays a vital role in the smooth operation of graphite rotors. Check the system’s lubrication levels before installation. Use the lubricant specified in the manufacturer’s guidelines to avoid compatibility issues. Apply the lubricant evenly to all necessary areas, ensuring no excess drips into the rotor housing.
참고 : Insufficient or excessive lubrication can lead to overheating or wear. Always follow the recommended amounts for best results.
By thoroughly cleaning the system and maintaining proper lubrication, you create an ideal environment for the graphite rotors to function efficiently.
Step 3: Proper Alignment
Position the Graphite Rotor for Optimal Airflow
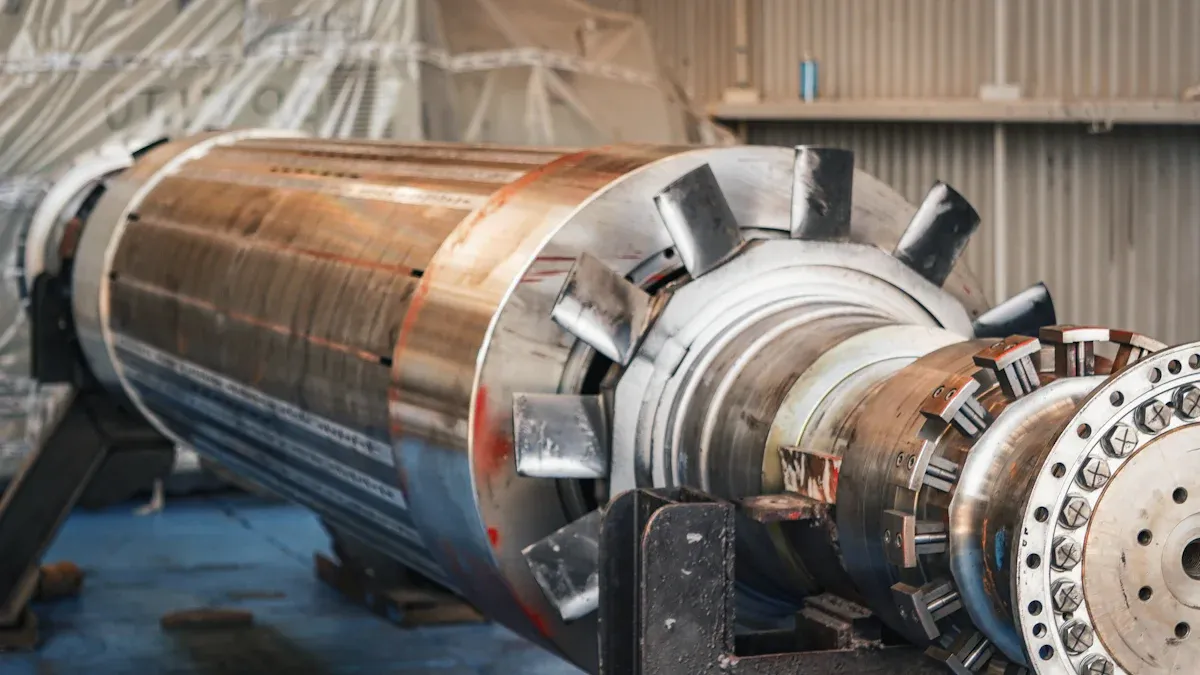
Positioning the graphite rotor correctly is essential for achieving efficient airflow within the compressor system. Place the rotor inside the housing, ensuring it aligns with the airflow direction specified in the manufacturer’s guide. A misaligned rotor can disrupt airflow, leading to reduced performance and potential damage. Use visual markers or alignment tools, if provided, to help you position the rotor accurately.
팁: Take your time during this step. Rushing can lead to errors that may affect the system’s efficiency.
Use Manufacturer Guidelines to Avoid Misalignment
Always refer to the manufacturer’s guidelines when aligning the rotor. These instructions provide specific details about the rotor’s placement and orientation. Follow the recommended measurements and tolerances to avoid misalignment. Even a slight deviation can cause vibrations or uneven wear. If the guidelines include diagrams or illustrations, use them as a reference to ensure accuracy.
- Common alignment tools to consider:
- Alignment pins
- Measuring gauges
- Laser alignment devices
Using the right tools and adhering to the guidelines ensures the rotor operates as intended.
Double-Check Alignment Before Proceeding
Before moving to the next step, double-check the alignment of the graphite rotor. Rotate the rotor manually to confirm it moves smoothly without resistance. Inspect the positioning from multiple angles to ensure it matches the airflow direction. If you notice any irregularities, adjust the rotor until it aligns perfectly.
참고 : A final check can save you from costly adjustments or repairs later.
Proper alignment ensures the graphite rotor performs efficiently and extends the lifespan of your compressor system.
Step 4: Securing the Rotor
Fasten the Rotor Securely Using Recommended Tools
Use the tools specified in the manufacturer’s guide to fasten the rotor securely. A torque wrench is often recommended for this step because it ensures precise tightening. Position the rotor correctly and begin fastening each bolt or screw in a systematic order. Tighten them evenly to distribute pressure and avoid uneven stress on the rotor.
팁: Work in a crisscross pattern when tightening bolts. This method helps maintain balance and prevents misalignment.
Avoid Over-Tightening to Prevent Damage
Over-tightening can damage the rotor or its housing. Apply only the amount of force specified in the manufacturer’s guidelines. Excessive force may crack the rotor or warp the housing, leading to costly repairs. Pay close attention to the torque settings provided in the instructions. If you’re unsure, err on the side of caution and recheck the torque levels.
- Signs of over-tightening:
- Cracks or visible stress marks on the rotor.
- Difficulty rotating the rotor manually after installation.
Ensure All Fasteners Are Properly Tightened
Before completing this step, inspect all fasteners to confirm they are tightened correctly. Loose fasteners can cause vibrations or dislodge the rotor during operation. Use your torque wrench to verify each bolt meets the recommended specifications. Rotate the rotor manually to ensure it moves smoothly without resistance.
참고 : A final check of all fasteners ensures the rotor stays secure and performs efficiently.
Securing the rotor properly is critical for the performance and longevity of graphite rotors. Following these steps minimizes risks and ensures the system operates as intended.
Step 5: Testing and Final Checks
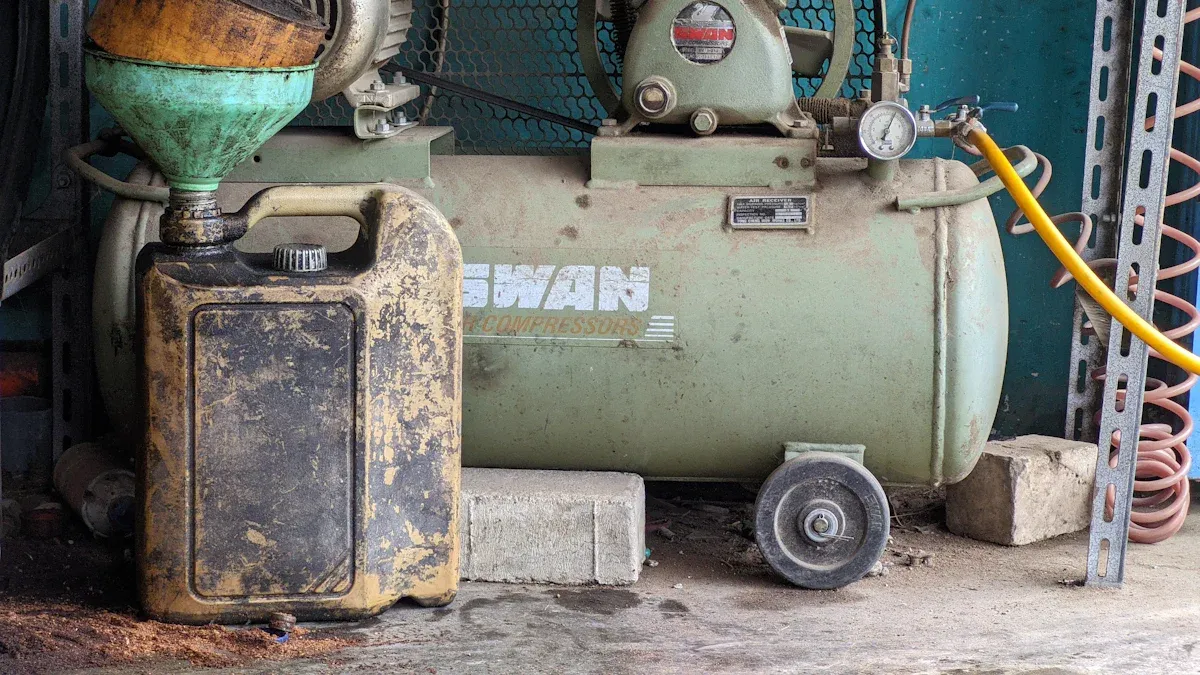
Conduct a System Test Run to Verify Installation
After securing the rotor, you need to perform a system test run. Start the compressor system and let it operate under normal conditions. Observe the system closely during this initial run. Pay attention to how the rotor moves and ensure it rotates smoothly without interruptions. A successful test run confirms that the rotor is installed correctly and ready for operation.
팁: Keep the manufacturer’s guide handy during the test run. It can help you identify any deviations from expected performance.
Inspect for Unusual Noises, Vibrations, or Leaks
During the test run, listen for any unusual noises. Grinding, rattling, or whistling sounds may indicate improper installation or misalignment. Check for vibrations by placing your hand lightly on the compressor housing. Excessive vibrations can signal loose fasteners or an unbalanced rotor. Additionally, inspect the system for leaks, especially around seals and connections.
- Checklist for inspection:
- Listen for abnormal sounds.
- Feel for excessive vibrations.
- Look for signs of air or fluid leaks.
Addressing these issues promptly prevents long-term damage to the system.
Confirm Optimal Performance and Cooling Efficiency
Finally, evaluate the system’s overall performance. Measure airflow and cooling efficiency to ensure the compressor operates at peak capacity. Compare these results with the manufacturer’s specifications. If the system meets or exceeds the expected performance, the installation is successful. If not, revisit earlier steps to identify and resolve the issue.
참고 : Regular maintenance checks can help sustain optimal performance over time.
By completing these final checks, you ensure the graphite rotor operates efficiently and extends the lifespan of your compressor system.
Proper installation of graphite rotors involves five critical steps: preparation, cleaning, alignment, securing, and testing. Each step ensures the rotor operates efficiently and lasts longer.
주요 혜택:
- Enhanced system performance
- Reduced maintenance costs
- Extended equipment lifespan
By following these steps, you can optimize your compressor system and avoid costly repairs.
제품 정보
What tools are essential for installing graphite rotors?
You need a torque wrench, screwdrivers, cleaning cloths, and lubricants. Always check the manufacturer’s guide for any additional tools specific to your compressor system.
팁: Organize your tools before starting to save time.
How often should you inspect the rotor after installation?
Inspect the rotor every three months. Regular checks help you identify wear, misalignment, or contamination early, ensuring the system operates efficiently and avoids costly repairs.
Can improper alignment damage the compressor system?
Yes, misalignment can cause vibrations, uneven wear, and reduced airflow efficiency. Always follow the manufacturer’s alignment guidelines to prevent these issues and extend the system’s lifespan.
참고 : Double-check alignment before securing the rotor.

